 |
Step 1 – Project Planning and Overview
Budget the time & materials for your project.
Determining what you need and how much time you have.
A typical Fresco Harmony project consists of the following steps:
– Materials & Prep
– Applying the base coat
– Applying the 2nd coat
– Apply top coat sealer
|
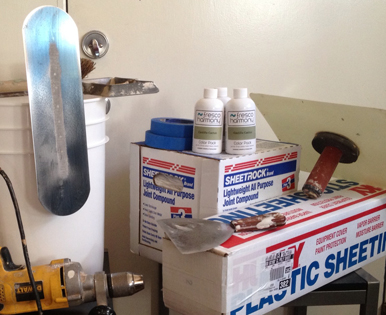
1) Tools Needed
– 5 Gal. Bucket with lid for mixing
– 5 Gal. Bucket for water
– Power drill with Mixing Blade
– Hawk
– Trowel / Pool
– 6″ Dry wall Joint Knife
– Sanding screen or polyurethane sponge
– Scrub Brush
|
 |
  |
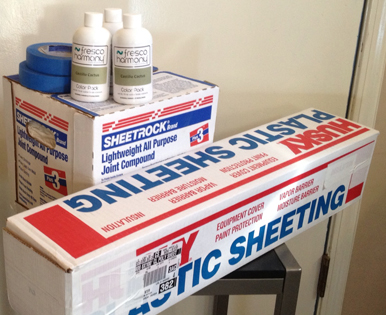
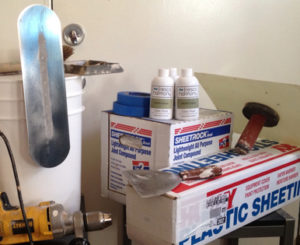
2) Materials
Prepare ahead of time so that you don’t run out of supplies during the project.
– Be sure to have more than enough Color Packs and joint compound for the job
– One (1) Color Pack per one (1) 3.5 Gal. box of joint compound based on sq. footage
– Drop Cloth / Plastic Sheet
– 1″ & 1.5″ rolls of Trim Painters (Masking) Tape
|
3) Surface Preparation & Masking
– Dusting, washing or priming are NOT REQUIRED
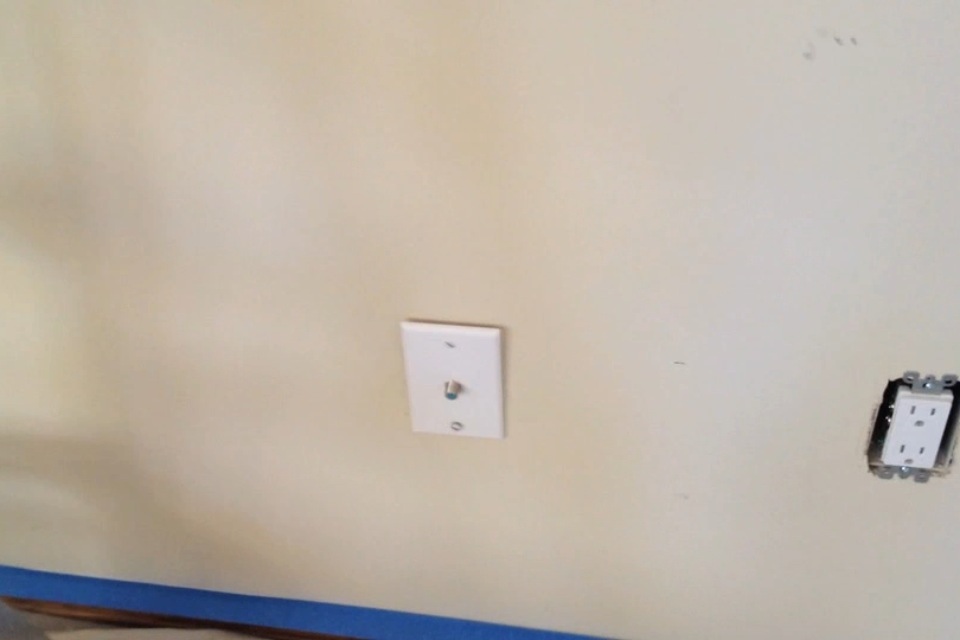
– Remove outlet covers, vent covers, window treatments, etc.
– Mask ceiling, walls, or window trim with tape, leaving a slight gap for build out
|
  |
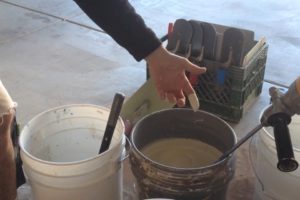  |
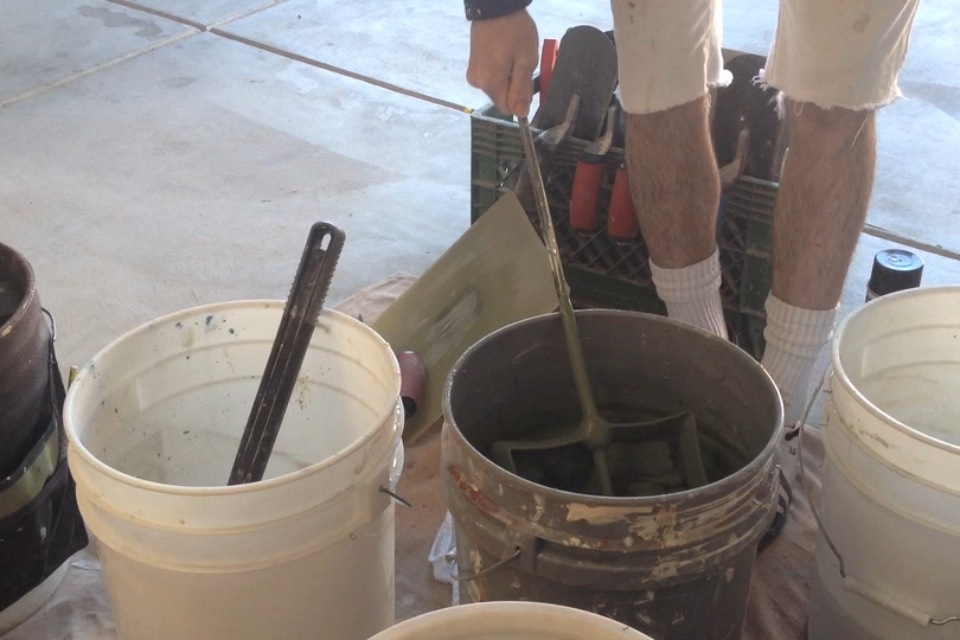
4) Pre- Mixing Joint Compound
– transfer joint compound to 5 Gal. mixing bucket
– add 1 qt. clean water
– use drill and mixing blade to mix joint compound to smooth consistency
|
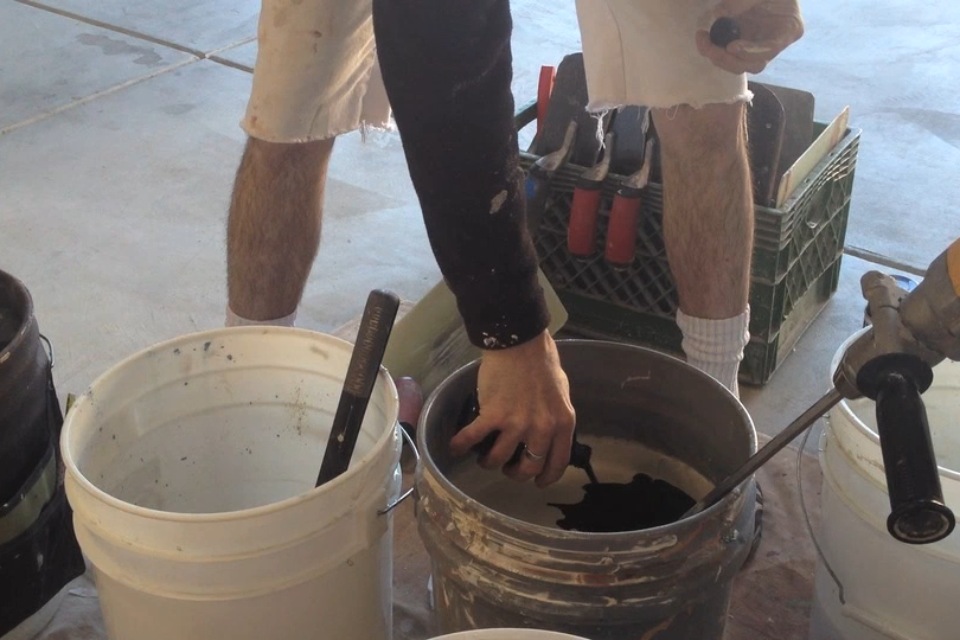
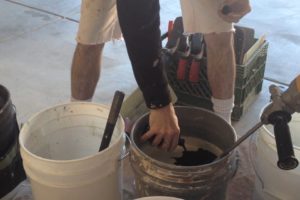
5) Mixing Color Pack
– Shake Color Pack bottle vigorously for about a minute before opening
– open and pour Color pack into the mixing bucket
|
  |
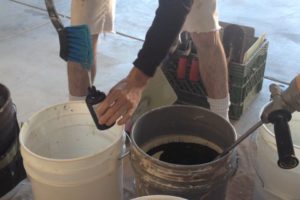  |
– fill Color Pack bottle about half way with clean water,
shake vigorously and empty into mixing bucket
– ensure all color has been completely rinsed out of the bottle
|
| |
|
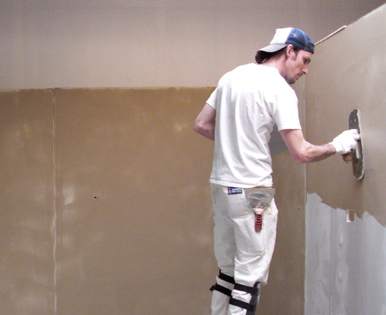
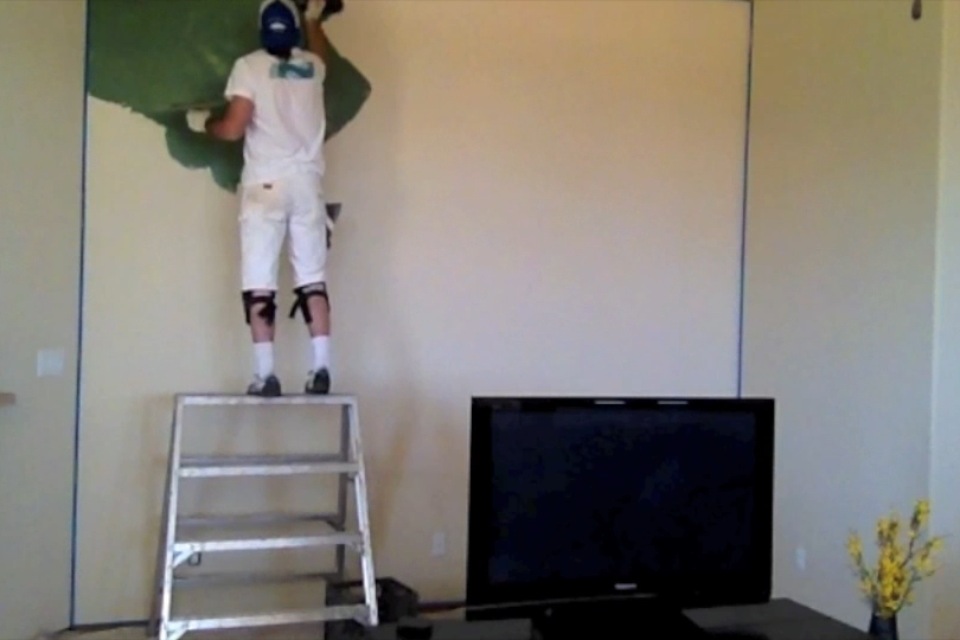
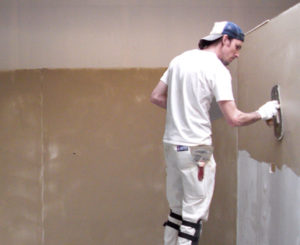
6) Base Coat Application
*Practice on sample accent wall if necessary
* pre-determine the amount of “movement” you want to create
– Start in upper left corner of the wall, top to bottom, left to right. (opposite if left handed)
– Use 6″ knife to cut in corners, one scoop should be sufficient
– Work the wall in three (3) foot, abstract sections
– Using pool trowel, leave a consistent layer covering existing substrate (texture)
– use 6″ knife as a referring tool
|
  |
| |
|
  |
7) Base Coat Application
– Try not to spill or create large messes
– Treat “bullnose” or rounded corners as one surface
– Keep back of trowel blade clean for sharp angles
– Allow to dry completely before applying the 2nd Coat
|
– Allow to dry completely before applying the 2nd Coat
|
  |
  |
8) 2nd Coat Mixing & Application
– When mixing the joint compound for the 2nd Coat, mix to a thin, almost “runny” consistency
– As the base coat, work in three (3) foot sections
– it is normal to take most of the joint compound back off the wall as it’s applied
– the 2nd coat is thinner than base coat
– The 2nd coat will dry faster than the first
|
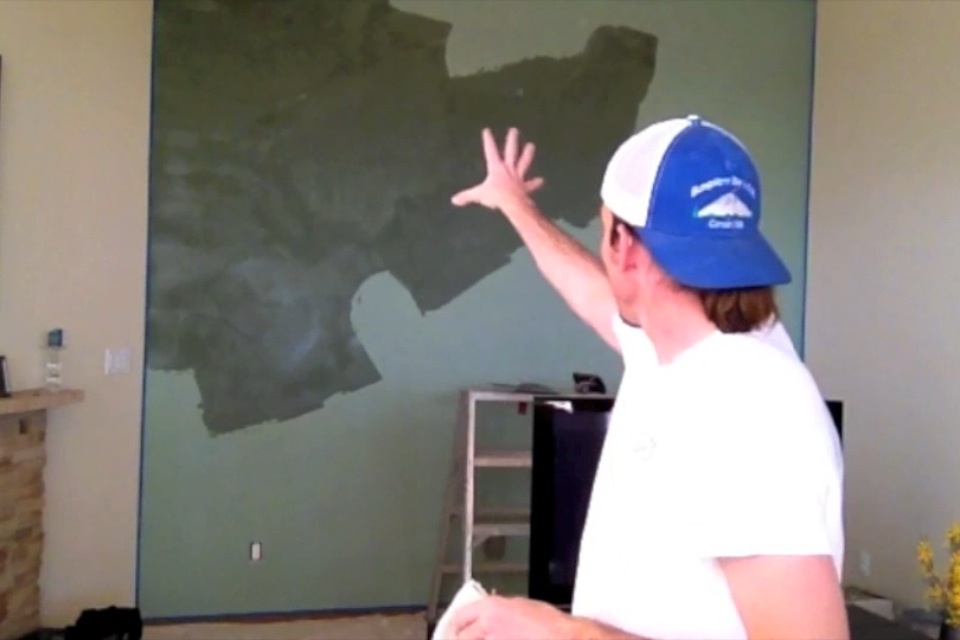
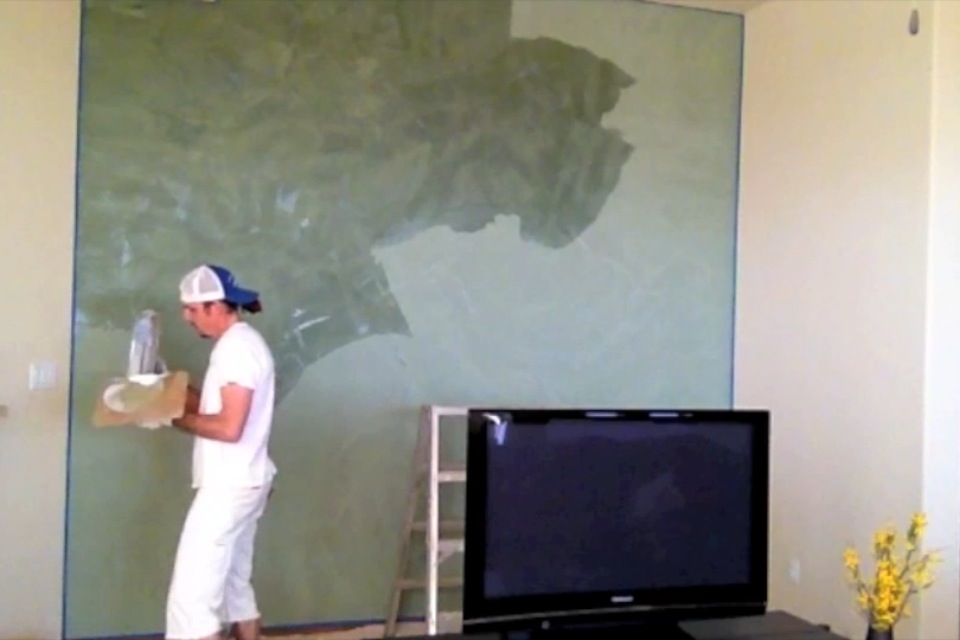
9) 2nd Coat Application
– Keep adding joint compound to the hawk to keep a soft consistency
– apply as abstract, “puzzle piece” like sections to achieve desired movement
– A properly 2nd Coat finish should take on a “map-like” appearance (image)
– Your break lines become part of the design of the “movement”
– Allow to dry completely before applying the Sealer Coat
– use a high grit soft sand sponge to sculpt edges
– DO NOT SAND WALL
|
  |
 |
10) Sealer Coat
– Fresco Harmony recommends a high viscosity, clear acrylic.
– For large projects it is recommended to use a separate knife, hawk & trowel for applying the Sealer Coat. It’s hard on tools.
|
– Sealer Coat should go on fast and smooth
– Just like the 2nd Coat, keep the break lines abstract and random
– move quickly, putting on & taking off the sealer
– Keep trowel stroke moving in different directions
– This abstract application also adds to the overall sheen of the final appearence.
|
 |
  |
11) Painting trim & other accents
– paint trim, outlet covers, vents, and other accents with match paint for that professional touch.
|
12) Tips and Tricks
– If you have to store Fresco Harmony, simply seal mix bucket with lid. Do not add water.
– keep Color Pack at room temperature
– practice applying for desired finish before attempting your project. Always make a sample first. Above all, have fun!
|
Let’s Get to work
|