Plan Your Project
Fresco Harmony is a wall treatment product. Introducting the “Color Pack.” The Fresco Harmony Color Pack is a special formulated additive that is measured specifically for mixing into a 3.5 gal. box / bucket of joint compound. The specific color formula ensures color consistency no matter how big your project is or what type of mud you use.
A Fresco Harmony project can range from a 150sq. ‘Manhattan’ accent wall to ‘Vegas’ hotel remodel. Most projects require no surface prep work because of the versatility of joint compound, so you’re already saving time and money. Great decision!
The Fresco Harmony Signature Color Series is easy to choose from. Our colors have been created based on what clients and designers have chosen since 2004. the colors are very warm and inviting. For beginning applicators we recommend choosing a variety of colors and creating samples to familiarize yourself with our system. Some colors we recommend are Minor Sand, Merryman Beige, Gallery Pearl, Copper Mountain, and Hidalgo Brown.

Step 1) Browse our new Signature Color Series palette here. Select the colors suitable for your project. Download the Signature Color Series portfolio to view high definition photographic samples.
Step 2) Measure the dimensions of the surface you’ll be treating. Figure out the square footage you’ll need to cover using our simple square footage calculator below. We recommend one Color Pack per 150 sq/ft. Enter your project’s square footage into our “materials calculator” below and note the quantity of Color Packs you’ll need for your project and order from our webshop. Keep in mind the type of surface and texture you’re treating. Remember, the more aggressive (rough or deep) the texture, the less square footage a Color Pack covers.
Step 3) Print or download helpful guides and tutorials you may need. Check out our YouTube page and watch some videos to familiarize yourself with the system.
Step 4) When you receive your Fresco Harmony Color Packs, and sealer, you’ll be ready to start your project!
Fresco Harmony Step by Step
 |
Step 1 – Project Planning and OverviewBudget the time & materials for your project.Determining what you need and how much time you have.A typical Fresco Harmony project consists of the following steps:– Materials & Prep– Applying the base coat– Applying the 2nd coat– Apply top coat sealer |
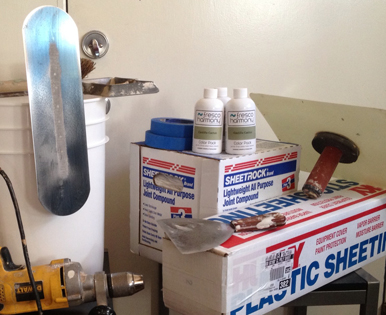
1) Tools Needed– 5 Gal. Bucket with lid for mixing– 5 Gal. Bucket for water– Power drill with Mixing Blade– Hawk– Trowel / Pool– 6″ Dry wall Joint Knife– Sanding screen or polyurethane sponge– Scrub Brush |
 |
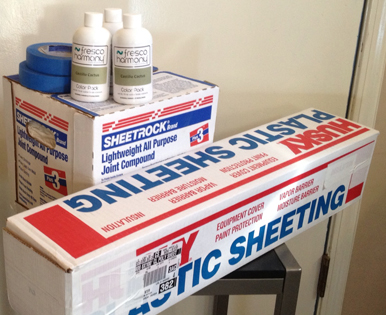  |
2) MaterialsPrepare ahead of time so that you don’t run out of supplies during the project.– Be sure to have more than enough Color Packs and joint compound for the job– One (1) Color Pack per one (1) 3.5 Gal. box of joint compound based on sq. footage– Drop Cloth / Plastic Sheet– 1″ & 1.5″ rolls of Trim Painters (Masking) Tape |
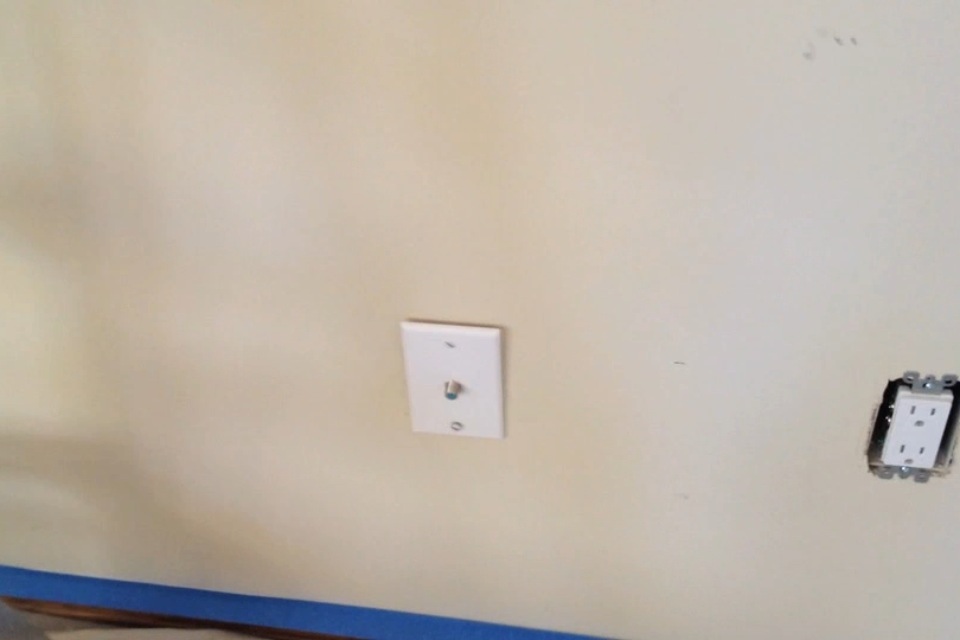
3) Surface Preparation & Masking– Dusting, washing or priming are NOT REQUIRED– Remove outlet covers, vent covers, window treatments, etc.– Mask ceiling, walls, or window trim with tape, leaving a slight gap for build out |
  |
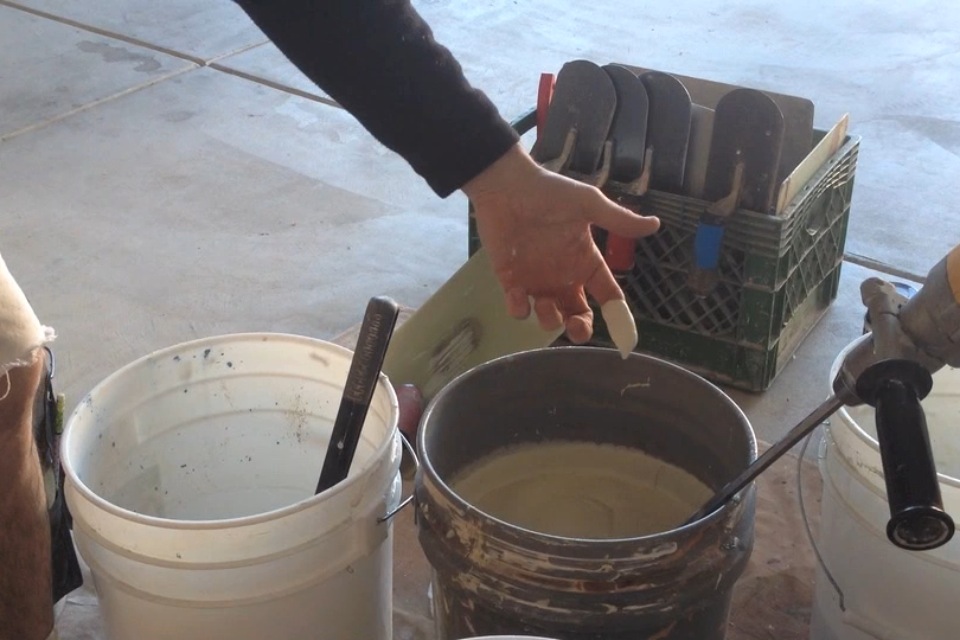  |
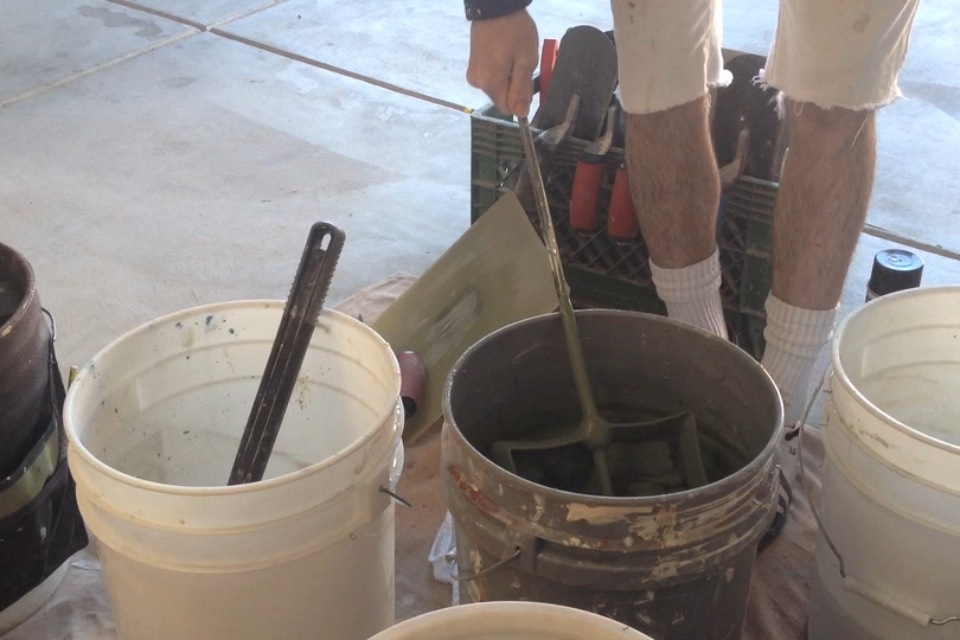
4) Pre- Mixing Joint Compound– transfer joint compound to 5 Gal. mixing bucket– add 1 qt. clean water– use drill and mixing blade to mix joint compound to smooth consistency |
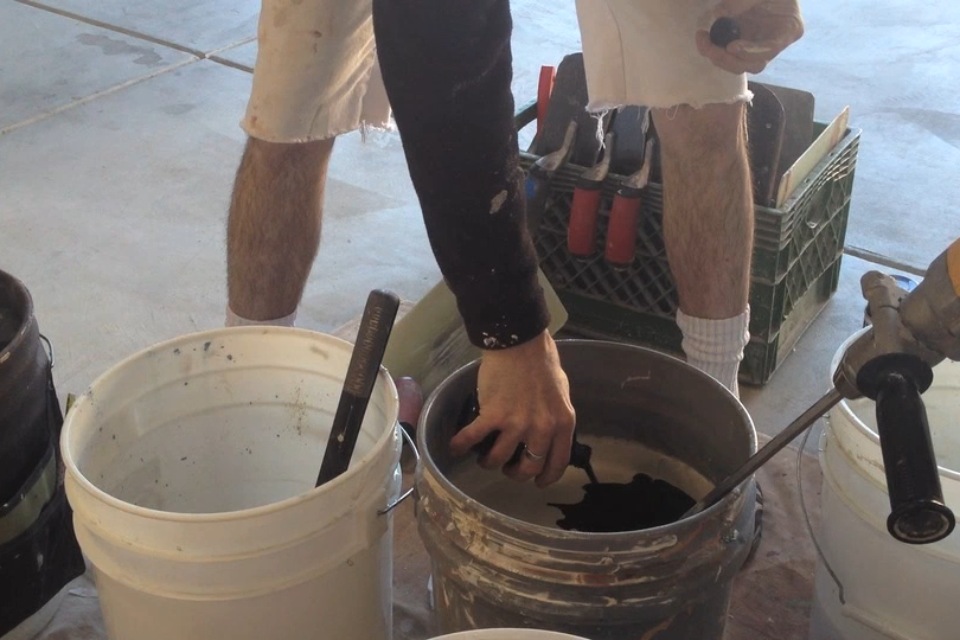
5) Mixing Color Pack– Shake Color Pack bottle vigorously for about a minute before opening– open and pour Color pack into the mixing bucket
|
  |
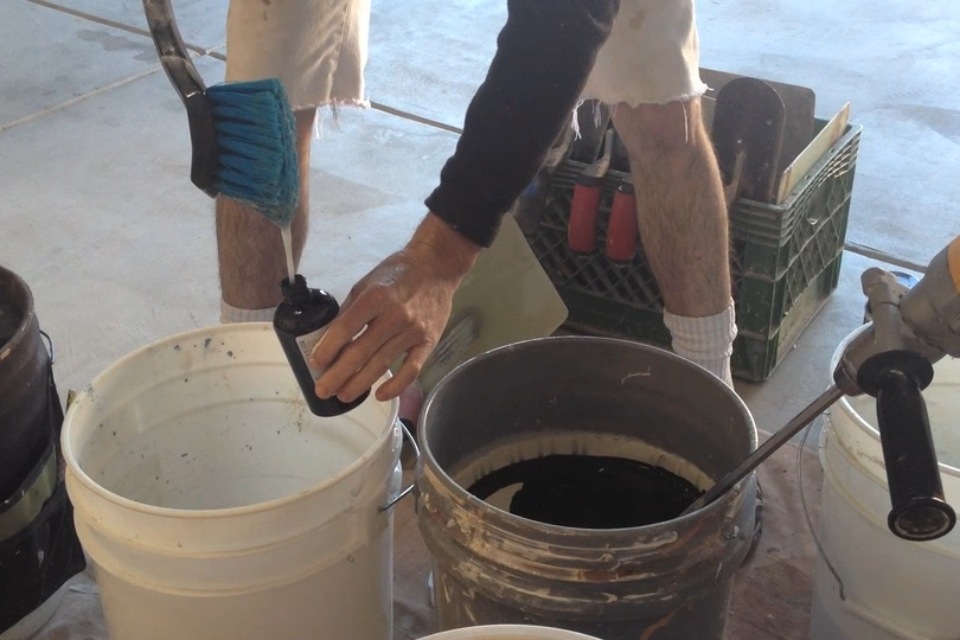  |
– fill Color Pack bottle about half way with clean water,shake vigorously and empty into mixing bucket– ensure all color has been completely rinsed out of the bottle |
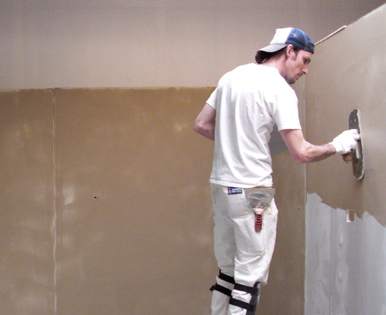
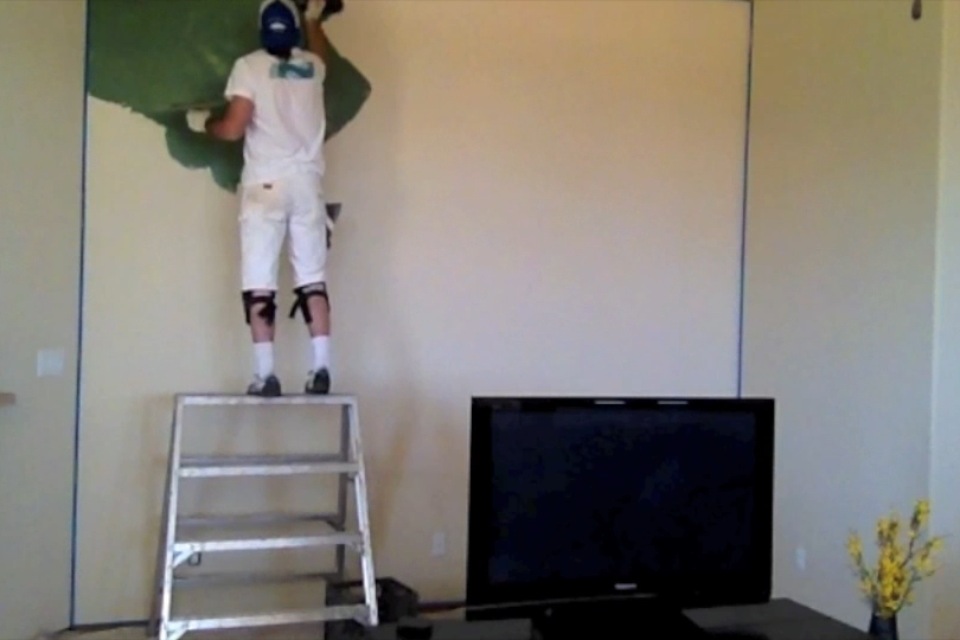
6) Base Coat Application*Practice on sample accent wall if necessary* pre-determine the amount of “movement” you want to create– Start in upper left corner of the wall, top to bottom, left to right. (opposite if left handed)– Use 6″ knife to cut in corners, one scoop should be sufficient– Work the wall in three (3) foot, abstract sections– Using pool trowel, leave a consistent layer covering existing substrate (texture)– use 6″ knife as a referring tool |
  |
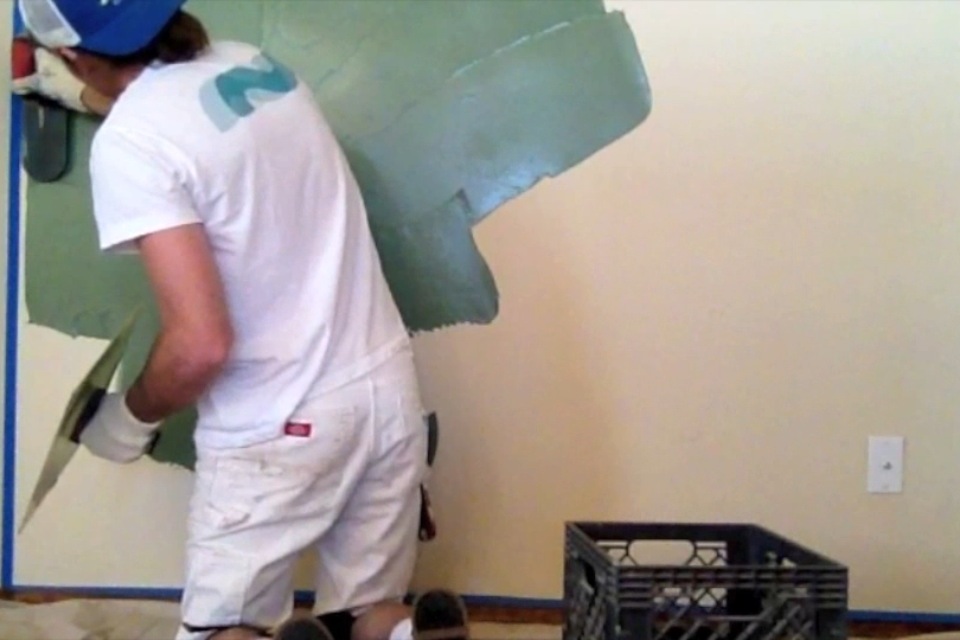  |
7) Base Coat Application– Try not to spill or create large messes– Treat “bullnose” or rounded corners as one surface– Keep back of trowel blade clean for sharp angles– Allow to dry completely before applying the 2nd Coat |
– Allow to dry completely before applying the 2nd Coat |
  |
  |
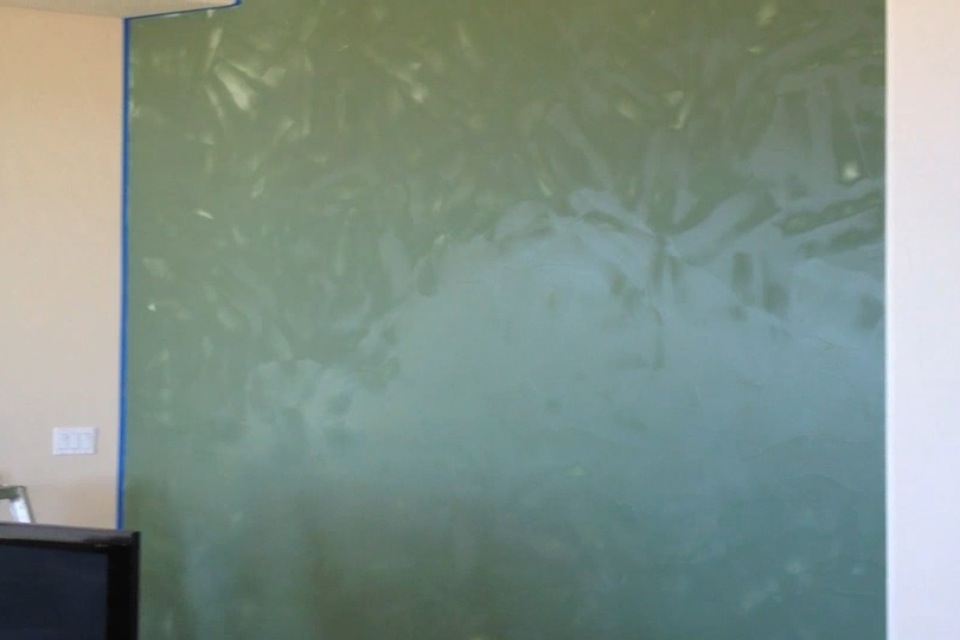
8) 2nd Coat Mixing & Application– When mixing the joint compound for the 2nd Coat, mix to a thin, almost “runny” consistency– As the base coat, work in three (3) foot sections– it is normal to take most of the joint compound back off the wall as it’s applied– the 2nd coat is thinner than base coat– The 2nd coat will dry faster than the first |
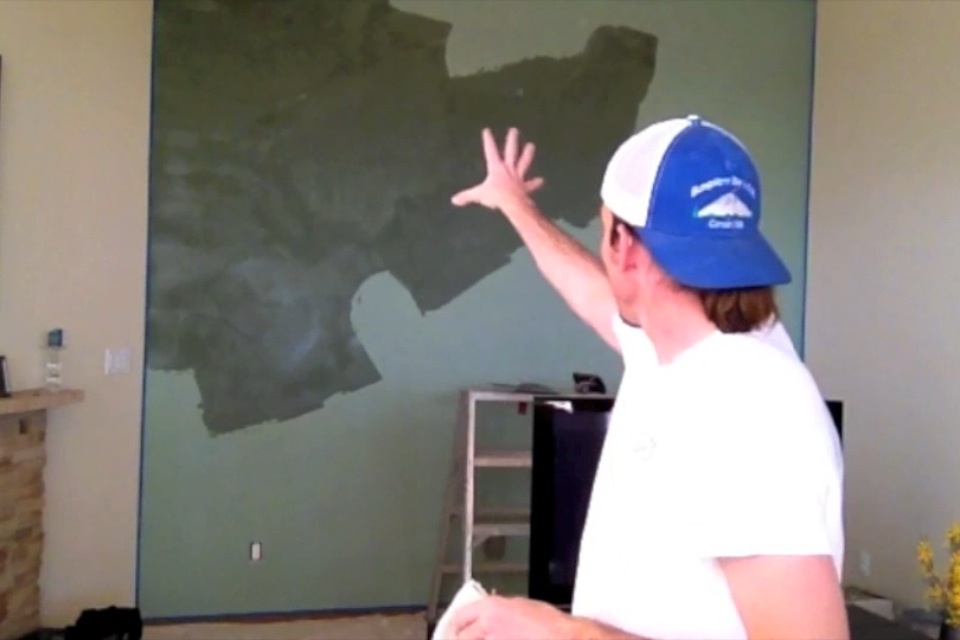
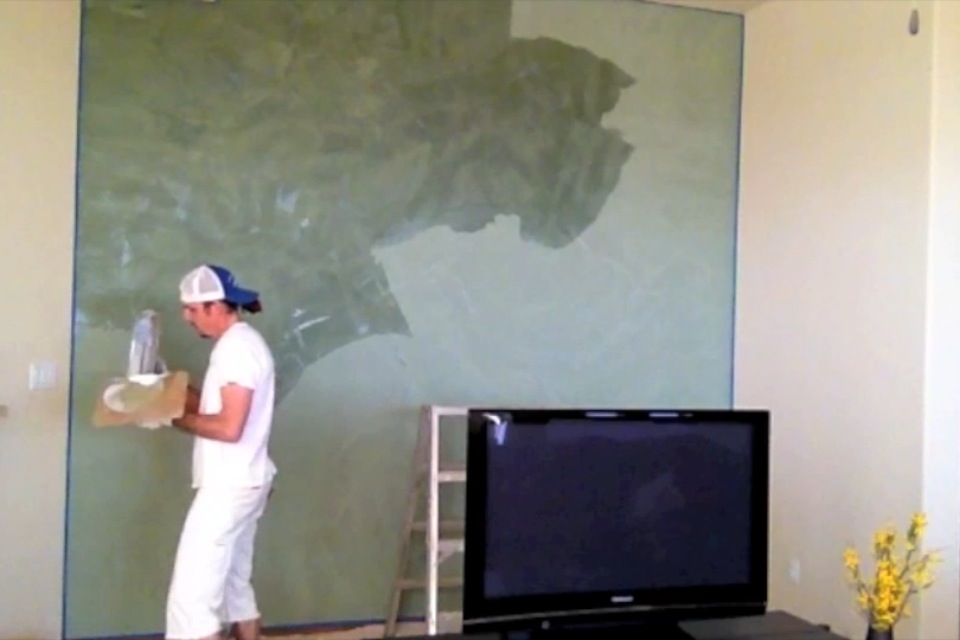
9) 2nd Coat Application– Keep adding joint compound to the hawk to keep a soft consistency– apply as abstract, “puzzle piece” like sections to achieve desired movement– A properly 2nd Coat finish should take on a “map-like” appearance (image)– Your break lines become part of the design of the “movement”– Allow to dry completely before applying the Sealer Coat– use a high grit soft sand sponge to sculpt edges– DO NOT SAND WALL |
  |
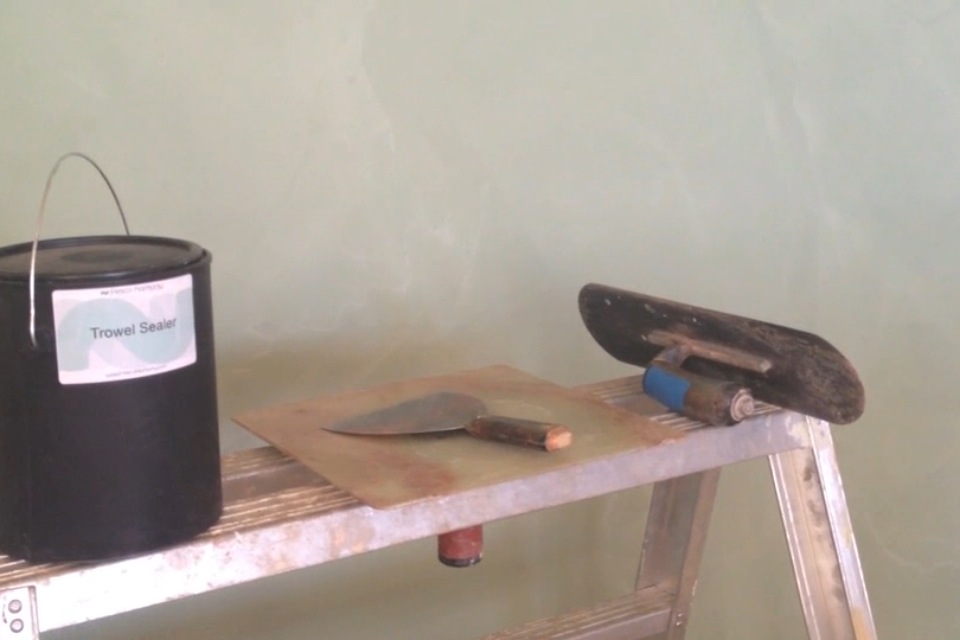 |
10) Sealer Coat– Fresco Harmony recommends a high viscosity, clear acrylic.– For large projects it is recommended to use a separate knife, hawk & trowel for applying the Sealer Coat. It’s hard on tools. |
– Sealer Coat should go on fast and smooth– Just like the 2nd Coat, keep the break lines abstract and random– move quickly, putting on & taking off the sealer– Keep trowel stroke moving in different directions– This abstract application also adds to the overall sheen of the final appearence. |
 |
  |
11) Painting trim & other accents– paint trim, outlet covers, vents, and other accents with match paint for that professional touch. |
12) Tips and Tricks– If you have to store Fresco Harmony, simply seal mix bucket with lid. Do not add water.– keep Color Pack at room temperature– practice applying for desired finish before attempting your project. Always make a sample first. Above all, have fun! |
Let’s Get to work |